Whether you’ve just moved into a new home or are looking to update your existing one, repainting your front door is a quick and easy project. Changing up the color can bring a whole new look to your home!
It’s also an easy project you can tackle in a short amount of time and without a lot of fancy and expensive equipment. As long as you have some basic tools and supplies and a few hours, you can achieve an attractive new look to brighten the exterior of your home.
If you’re unsure what you need to do or where to start, be sure to keep reading! We have your ultimate guide for how to paint a front door.
How to Paint a Front Door
Learning how to paint a front door isn’t difficult. Nor is doing the actual work! Here are our top front door painting tips:
Step One: Choose Your Paint
Choosing the new paint color for your front door may be the most exciting part of the whole process. The choices! The hues! The shades!
To be honest, it can get pretty overwhelming. Especially when you add in the different types of paint, such as oil or latex.
But there are a few important items to keep in mind to help make this process easier.
First, you’ll need exterior paint. This is important because front doors get a lot of use and abuse. They’re exposed to all sorts of elements like rain, snow, hail, wind, and temperature fluctuations. Exterior paint is necessary for durability and to keep away mold.
Another choice you’ll need to make is what kind of exterior paint to select as well as its finish. Latex-based paints are the most common because they’re durable, fill in cracks and gaps, and flexible. They typically won’t chip or flake either.
With latex-based paints, a semi-gloss finish is the most popular. There are two reasons for this: one, it’s easier to clean, and two, it can help your newly painted front door pop even more.
You can also go with oil-based exterior paints which are known to durable and with a high gloss.
Depending on where you get your paint, the options for exterior colors may be more limited. Check and see what they offer first before getting your heart set on a specific color.
Be sure to also check with your Homeowners Association. They sometimes require you to clear your color choice with them first, or even choose from a pre-selected pallet of approved colors.
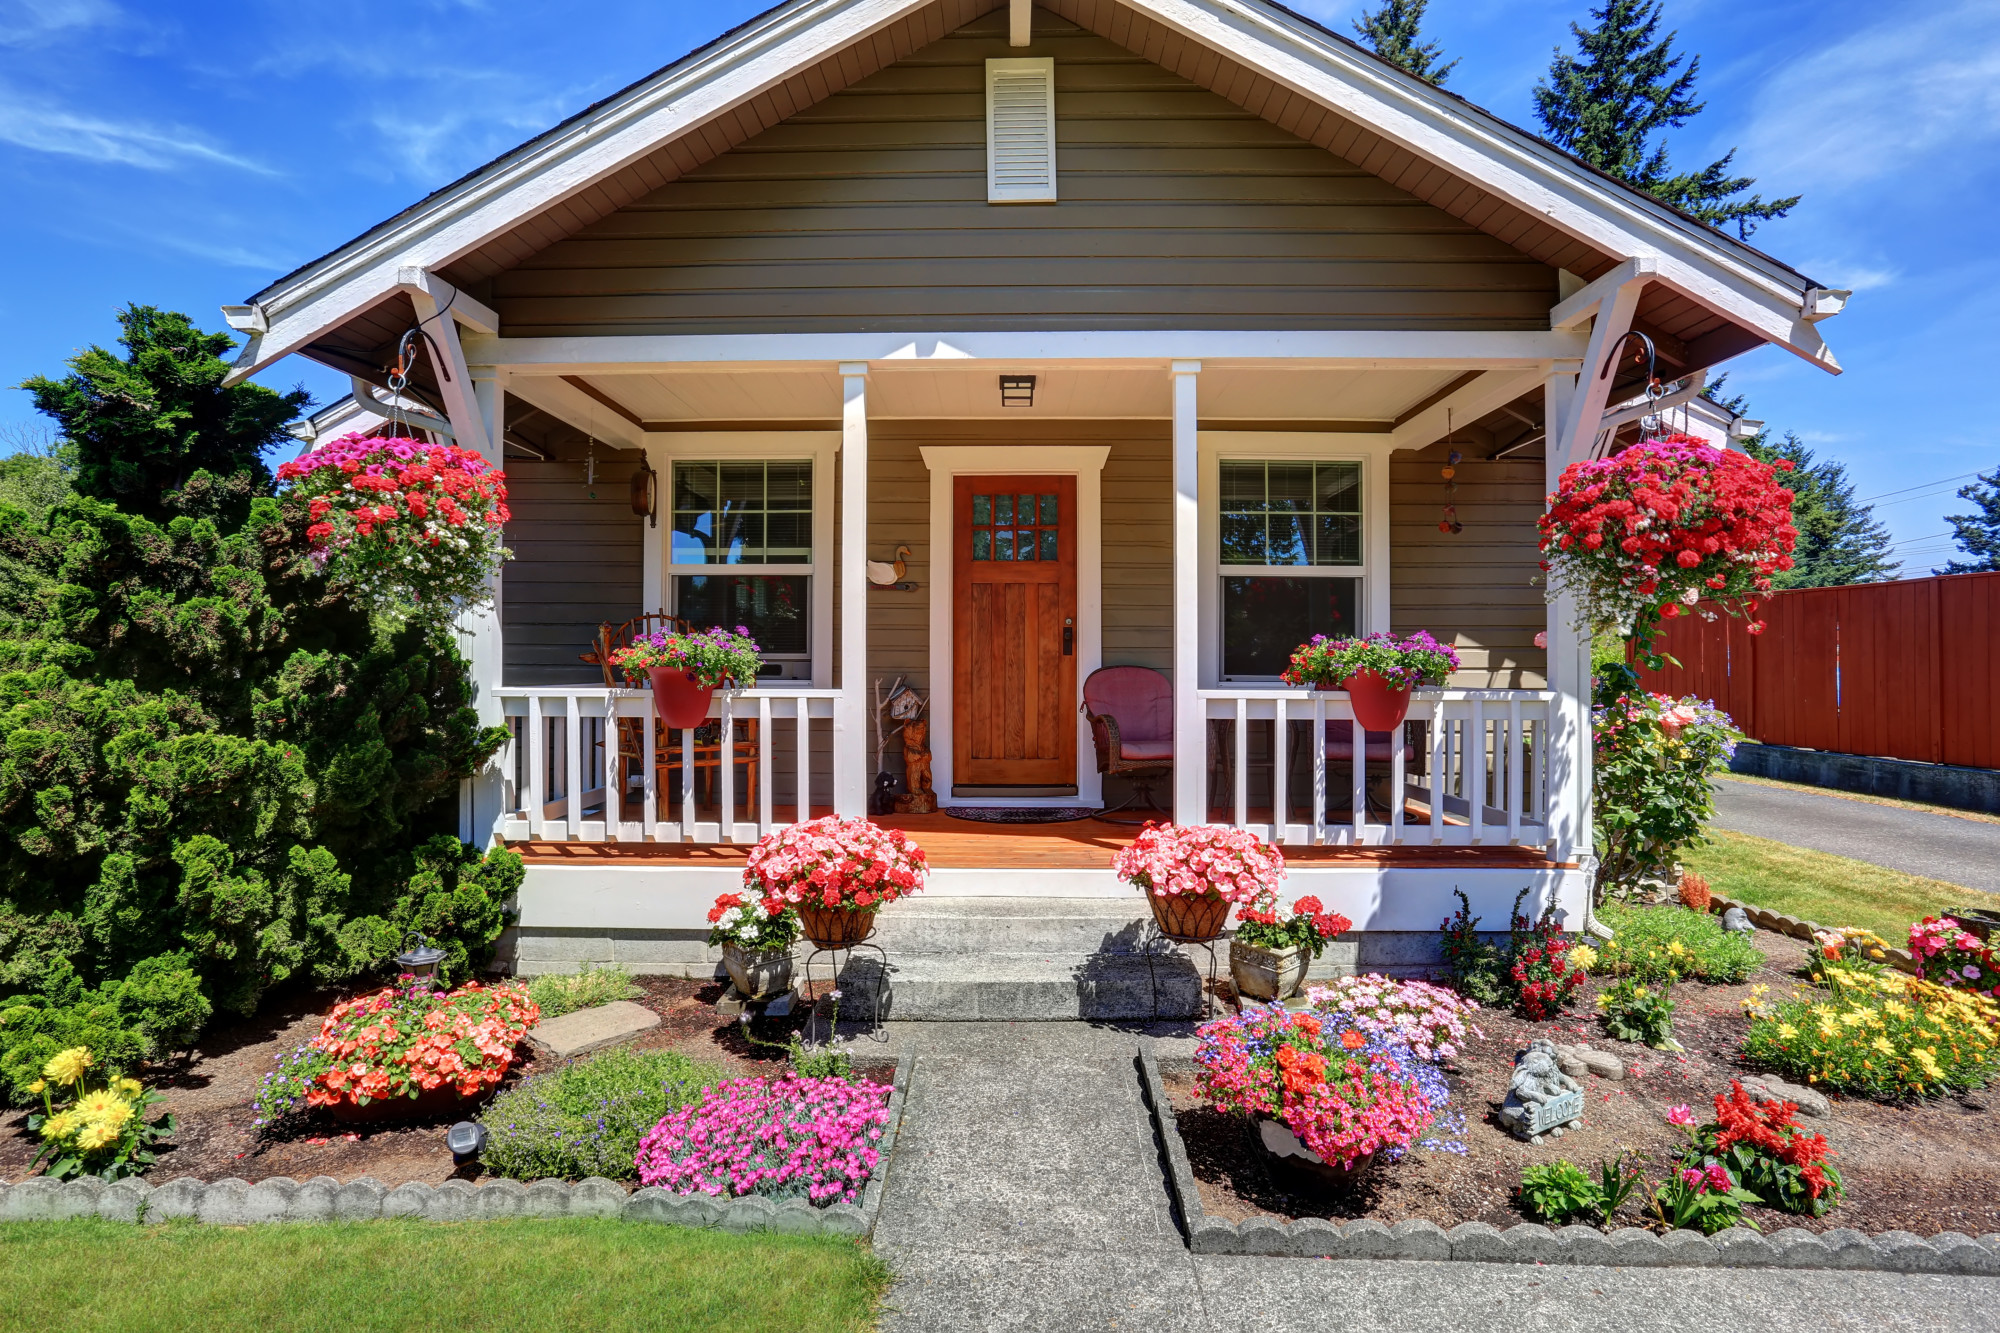
Otherwise, consider how the door can be used to contrast with the exterior color of your home. This can be a bright, eye-catching way to add more curb appeal. You also want to think about the color tones of your landscaping and how your front door can be enhanced by the colors already present around your home.
Step Two: Remove the Door and Hardware
At this point, you have an important choice to make. For front door painting, you can either take it off its hinges or paint it while still attached.
There are pros and cons for both and, depending on your level of comfortability and time, both get the job done.
If you decide to take your front door off its hinges, it’s a most labor-intensive process. You may also need an additional set of helping hands to help you, as well as a way to protect your home without while the door is being worked on. But you also have the ability to do an excellent job all around because you won’t be working with awkward angles.
To start, take a flathead screwdriver and a hammer. Insert the screwdriver into the bottom of each hinge and gently knock out the pins. If you’re not switching out hardware, be sure to keep this in a bag or small container so they don’t get lost.
Then, get some help carrying the door and laying it flat on a pair of sawhorses. It’s recommended to remove any hardware while painting to ensure the best-looking finished product.
If you end up buying a new handle and lock, this will have to happen anyway. Go ahead and do it now so that the paint covers any gaps or size differences.
Your second option is to simply paint the door while it’s already hanging up. This is definitely a quicker process, but you’ll have to be careful not to get paint in places you don’t want it.
Many people also tape around their hardware, which again, is much easier than removing it.
Step Three: Prep the Door
Your first step when preparing for front door painting is to wash the door down well. It probably has many seasons worth of grime, dirt, and pollen coating the paint. Take some soapy water and a sponge and give it a good wipe down.
Next, take a scraper and run it over the door. In places where the existing paint has chipped or scratched, you want to remove it so it doesn’t show through the new paint.
You’ll then want to sand the door down to give you a good, smooth surface on which to paint. If the door has any gouges or uneven areas, take a putty knife and apply a small amount of caulk. Let this dry, then sand it down once more.
At this stage, it’s important to remove any dust and debris from the sanding. A vacuum or wet cloth works great.
If you’re planning on taping the hardware, now is the time to do it with painter’s tape. If your front door has windows or glass, be sure to tape off the edges to protect paint from getting on them.
Step Four: Prime
One of the best tips for painting a front door is this: do not skip primer! If you don’t believe us, check out property solution paint for an explanation of the importance of primer.
Make sure you buy an exterior primer to help prevent the door from absorbing moisture and warping. It also gives you a smoother surface on which to add your paint color of choice.
You have a few more options when it comes to primer. Depending on the color of paint you chose, you can get the primer tinted so you don’t need to add as many coats. You can also buy exterior paint and primer in one, which can save you this extra step.
Once the primer has dried, sand it down again in case of any drips or uneven surfaces. Wipe down the door again to clean up any sanding remnants.
Step Five: Paint
Once your primer is dry, it’s time to start adding your paint color! Plan on at least two coats, which is about one quart of paint.
Always start with the edges and molding using a small, angled brush. Use long strokes and feather them out to prevent any obvious brush marks. Be sure to paint top to bottom.
Next, tackle the panels. You can use a small, low-nap roller and paint in slow, smooth strokes. Again, paint starting at the top and work your way down.
The next area to paint is the center of the door, also known as the center style. Follow that with the rails, which are the horizontal pieces along the top, middle, and bottom of the door.
Finally, paint the outer stiles, or vertical pieces on the outer edges of the door.
Wait at least an hour, if not more, for the first coat of paint to dry. Apply at least one more coat, or more if you want a deeper paint cover.
Step Six: Reattach the Door
After your second coat of paint, be sure to let it dry thoroughly. While it takes about a day for the paint to completely cure, you should be able to reattach the door when the paint is dry to the touch.
Reattach all the hardware, such as the lock and handle. Then, depending on whether or not you took the door off its hinges, you may need help from someone to hold the door aligned while you tap the pins back into place.
There! You learned how to paint a door. It’s a very similar process for interior doors as well, but you can use interior paint instead.
Ready to Paint?
Painting a front door is a lot about prep work. Getting the door ready to paint is sometimes more work than the painting itself! But it’s always worth it when you find yourself closing your newly painted front door after all your hard work.
If you follow these tips for how to paint a front door, not only will you find yourself with a freshened-up exterior, but you may find neighbors asking you how you did it. Your home will make a new statement and be the envy of the neighborhood!
If you liked what you read here, be sure to check out our other posts on home design and projects.