Window film can do a lot for your home or office. It helps cut down on glare, adds privacy, and even saves on energy. But putting the film on windows isn’t as simple as it sounds if you don’t have the right tools and knowledge. In this guide, we’ll show you how to install window film and explain the difference between doing it yourself or letting the pros handle it. After learning about the services from Commercial Window Tinting, you might decide it’s best to let them take care of it.
The Pros and Cons of Tinting Windows
Tinting windows sounds like a solid plan, and in a lot of ways, it really is. You get better privacy, less glare, and it keeps things cooler inside. It even protects your furniture from fading by blocking out harmful UV rays. But, let’s be real, there are a few downsides too.
Pros:
- You’ll have more privacy without losing natural light
- UV rays are blocked, so your stuff lasts longer, and you are safe
- Your space stays cooler, which can help with energy bills
- Less glare makes it easier to watch TV or work on your computer
- Businesses can save up to 15% on energy costs by using commercial window tinting to reduce heat gain
- It gives offices and storefronts a professional, polished look while increasing security by making it harder to see inside
Cons:
- Doing it yourself might leave you with bubbles or creases
- Some films can be tricky to remove later if you change your mind
- Double-pane windows may not work well with all films
While tinting your windows has some big perks, the installation can really make a difference. If you’re not careful, a DIY job can quickly become a headache. That’s where the pros come in—they know how to get it right the first time, no bubbles, no fuss.
Overview
Installing window film may look simple, but it actually takes skill and the right tools to do it without leaving bubbles or creases. Whether you’re thinking about adding film to your home windows or a business, the benefits are clear. Window tinting can increase privacy, cut down on glare, and even reduce cooling costs by up to 30%.
For businesses, it’s a smart investment since it not only gives your space a professional look but can also reduce energy bills significantly. Some companies report saving thousands of dollars each year on air conditioning after adding window film.
Understanding what’s involved in the installation process is important. In the next sections, we’ll talk about the tools you’ll need and the steps to follow. By knowing how the process works, you can decide if it’s something you want to try yourself or if it’s worth bringing in the experts to do it right.
If you’re looking for window tinting in Bellevue, the pros at Commercial Window Tinting are the ones to call. They do the job, so it lasts, saving you from dealing with peeling or bubbles later. Let the experts handle it, and enjoy windows that look great for years.
Tools and Materials
Before you start installing window film, it’s smart to have everything you need ready. The right tools make all the difference between a job that looks smooth and one that’s full of bubbles. Here’s what you’ll need:
- A spray bottle with soapy water
- A squeegee for smoothing the film
- A utility knife to cut the edges clean
- A measuring tape to get the size right
- A lint-free cloth to clean the windows first
- A plastic applicator or a card to press the film down firmly
You might also find kits that include most of these items. Being prepared with the right tools saves time and makes the process a lot easier.
Steps
Let’s break it down, step by step, so you can follow along and feel confident while putting up your window film.
- Clean the window
Start by grabbing your lint-free cloth and a good window cleaner. Spray the cleaner generously across the window. Wipe it down, making sure every inch is spotless. You don’t want any dust, dirt, or streaks left behind because those tiny particles can get trapped under the film and create bubbles. Clean windows make all the difference when it comes to a smooth finish. - Measure and cut the film
Measure the window carefully. You want to cut the film just a bit larger than the window. This gives you room to adjust it and trim the edges later. Lay the film out on a flat surface, use your measuring tape, and mark the dimensions. Then, with your utility knife, cut the film, keeping the edges straight. If you cut it too small, it won’t cover the window properly, so it’s better to have a little extra than not enough. - Wet the window
Fill your spray bottle with soapy water (a little dish soap works). Spray the entire window. This helps you slide the film into position without it sticking right away. The water also prevents bubbles from forming under the film, which is a huge bonus. - Apply the film
Now comes the tricky part. Slowly peel the backing off the film. You might need a second set of hands here, as the film can be a bit sticky. Start at the top of the window and carefully place the film onto the wet glass. Work your way down, pressing the film lightly as you go. The water will let you adjust it if needed. - Smooth the film
Grab your squeegee and start from the center of the window. Push the water and air bubbles out toward the edges. Don’t press too hard, but give it enough pressure to flatten the film smoothly. You might need to go over the same spots a few times to get it just right. Keep working until you don’t see any bubbles or creases. - Trim the edges
Once the film is on and smooth, take your utility knife again and trim off any extra film around the edges. Be careful with this step—use the frame of the window as your guide to get a straight, clean cut. - Let it dry
Now, let the film settle. It needs at least 24-48 hours to dry completely. Try not to touch it during this time. Don’t clean it or mess with it while it dries, as the film needs time to stick properly to the glass.
These steps should help you install your window film like a pro. If something doesn’t go quite right, don’t worry—you can always make small adjustments before the film fully dries.
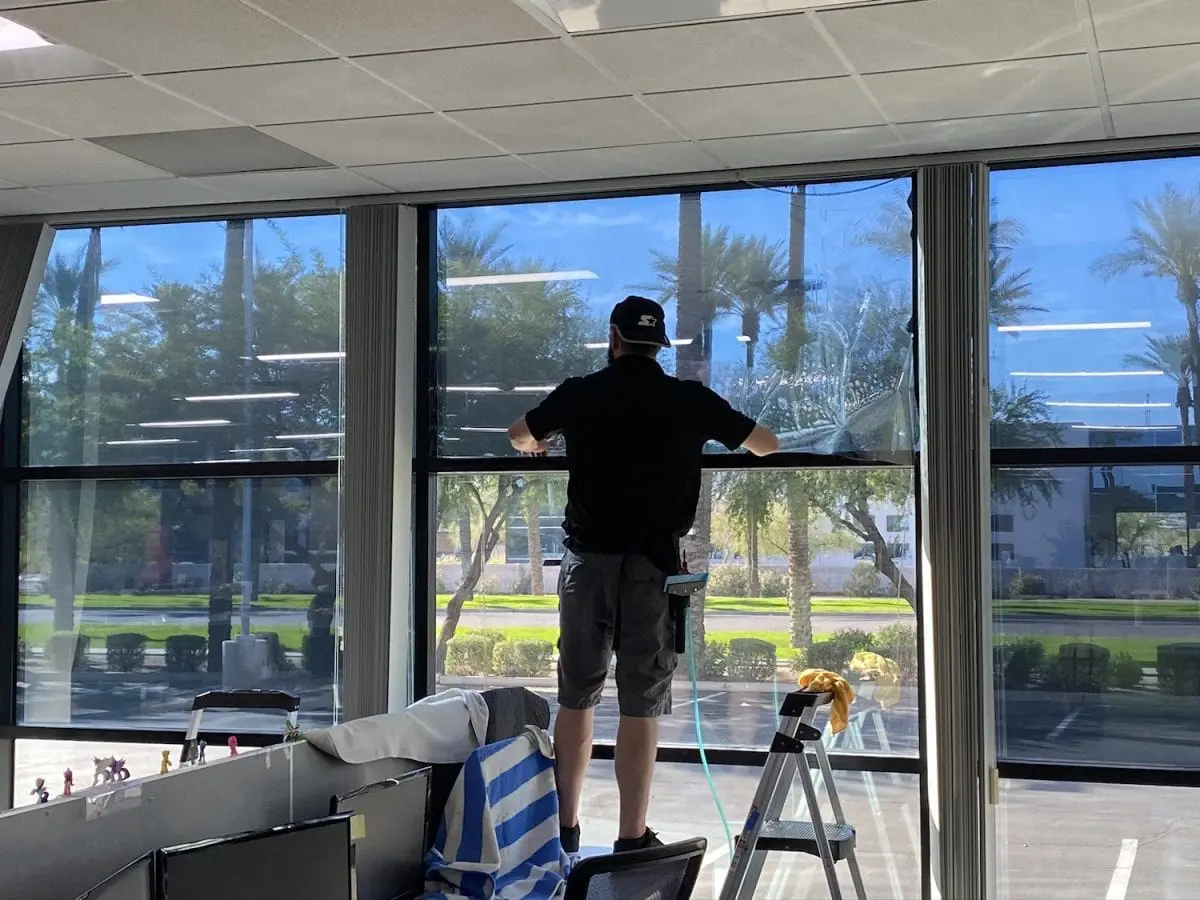
Reasons to Order Professional Services
You could try to install window film yourself, but there are times when it’s better to call in the pros. Here’s why hiring someone from Commercial Window Tinting might make more sense.
First, they have the skills. They’ve done this so many times that they know exactly how to get the job done without bubbles or wrinkles. They also know how to handle tough windows, like ones with weird shapes or extra-large sizes.
Then, there’s time. Doing this on your own can take hours. A pro will get it done faster, and you won’t have to spend your whole day on it.
Another thing is the materials they use. Professionals work with better-quality films. These films block UV rays, keep your space cooler, and protect your windows from damage. You can’t always find this stuff at the regular store.
Finally, a pro job lasts longer. If you try it yourself and make a mistake, the film could peel or bubble over time. When a pro does it, you know it’ll stick and look good for years.
Conclusion
Installing window film can improve your home or business. It helps with privacy, keeps the sun from bothering you, and can even save on energy costs. While it’s possible to do it yourself, having professionals like Commercial Window Tinting take care of it makes everything easier. They know how to do it right, without bubbles or peeling. Plus, they use high-quality materials that last. So, if you want a smooth, professional job that looks great for years, hiring a pro is the best choice.