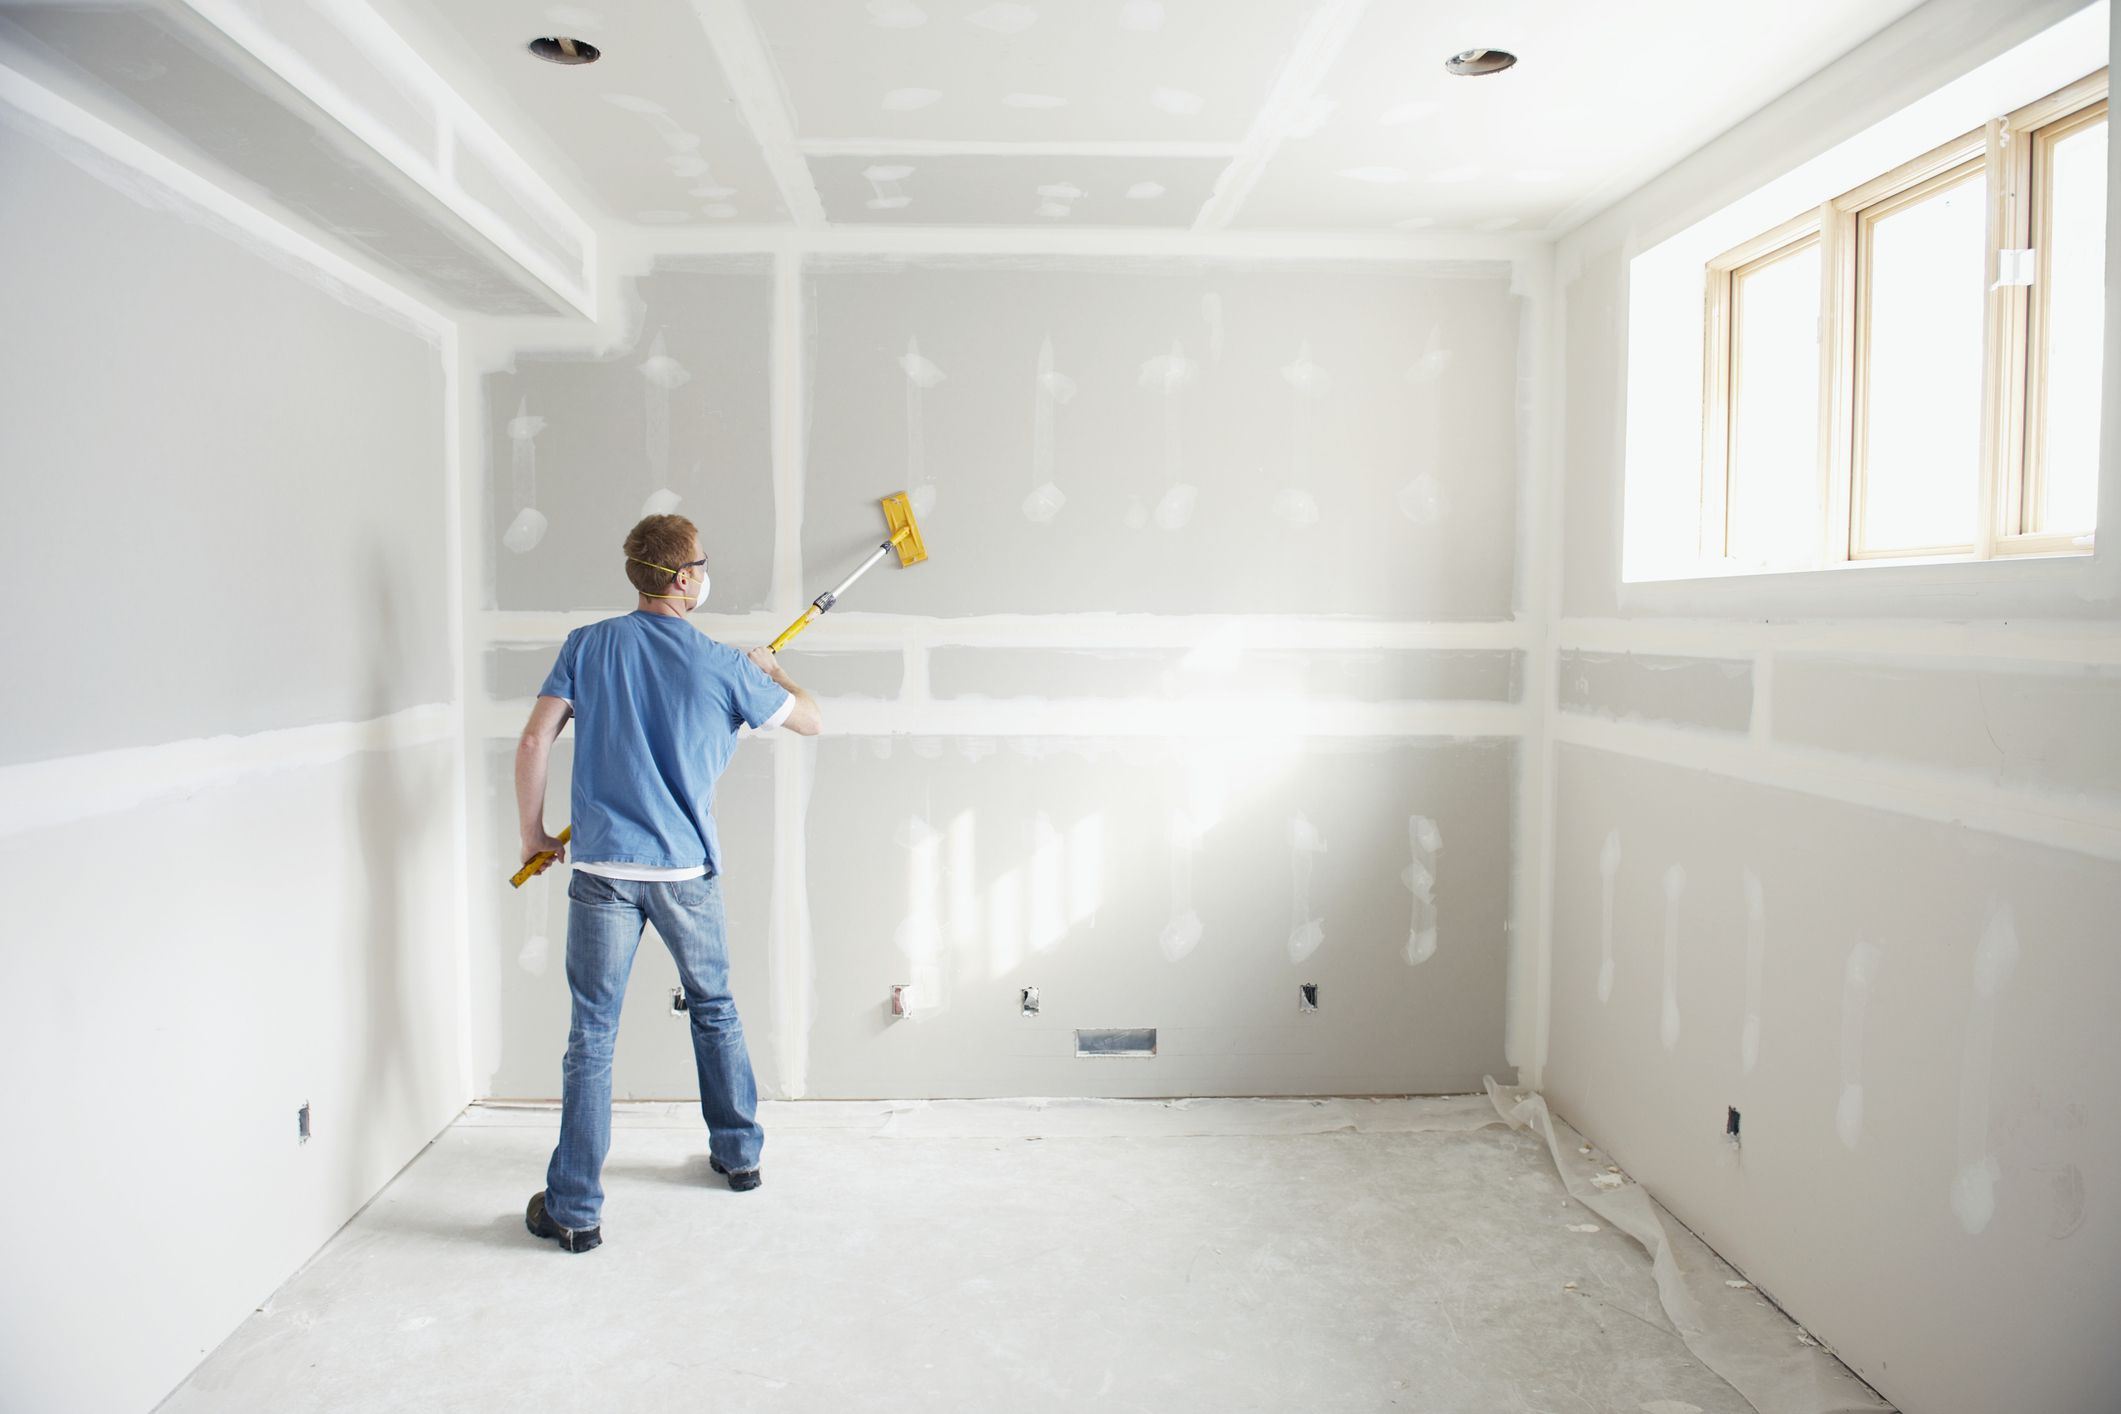
Drywall provides neat form and wholeness to your interior walls. But it takes only one hairline fracture across the wall that throws off your whole flawless aesthetic. A wall crack is usually not alarming. They occur over time, and in many cases, they are easily repaired. There are some occasions when they signify a severe underlying issue, but this is rare.
If you are worried that your cracked wall is critical, hire a professional to take a look. Contrarily, take the initiative, and check if you can repair the cracks in your wall by following our guide on cracked walls here.
Safety First
- Lift Carefully: To prevent hurting your back, always take anyone for help, and lift with the help of your knees, not back.
- Empty Bucket Warning: Premixed joint compounds are available in different size buckets. Heavy buckets pose a considerable danger to toddlers. The buckets are simply the right height. So that if a little kid bends over the edge, they can fall over headfirst and be helpless to get out. Hence, never put the bucket unattended, even if it’s carrying just a few inches of water.
- Clean Up the Dirt: Making drywall repairs generally needs sanding joint compounds to make an unblemished, smooth surface. But, joint compound dirt is a respiratory irritant that has silica and super-fine gypsum particulates. While rubbing joint compounds, don’t forget to wear a dust mask to safeguard your lungs.
It’s also an excellent idea to lay a drop cloth on the ground where you’re sanding. After finishing the sanding, remove the dust off the fabric with a wet sponge. Then clean the surroundings with your household vacuum.
Plaster Wall Patching
Treat small cracks in plaster just like a drywall crack with a joint compound. However, if the application is pulling apart from the lath, you must first shore up the wall with a process that has two steps. It contains a conditioner sprinkle followed by adherent.
- Startup by making holes with a 3/16-inch masonry bit. It will enter the plaster but not the wood lath, at every three inches, along with the size of the crack.
- Clear the debris and dust from the holes.
- Spray the adherent conditioner into each hole.
- Let it stay according to the manufacturer’s guide.
- Fill the adhesive into every hole, starting at the lowest point of the wall.
- Remove the extra adhesive with a wet sponge.
- Quickly connect plaster rings with the help of a drill to pull the plaster fixed against the wall.
- Permit curing according to the manufacturer’s instructions.
- Eliminate the plaster rings.
- Hide the original crack and holes with a layer of joint compound.
- Lightly sand, now apply the next coat of joint compound, then sand smooth when dry.
Filling Deep Cracks
Suppose cracks in plaster or drywall are deeper than a 1/4 inch. You will have considerable achievement if you first fill the gap with a filler compound. It would be best if you did it before taping it with the joint compound. Mix the combination according to the manufacturer’s guide. Please fill up the crack until it is on the level of the existing wall. Cover it with joint compound and tape to attain a smooth wall.
Drywall Compound
If the wall crack extends from the seam’s paper tape or if the paper tape has got loose from the wall, do the following:
- Take a razor knife and cut the tape about 6″ to 12″ from each end of the damage.
- Take out the tape but be cautious not to tear away the covering of a drywall’s paper.
- Peel away any detached compound. Now use a drywall saw or knife to widen the crack through the wall’s surface into the cavity.
- Prevent removing well-adhered, solid compounds.
- Now, fill the crack with the fresh drywall compound, then apply a thin layer of drywall compound. Apply it on the wall surface from where you removed the old tape.
- If a compound is still wet, place fibreglass tape on the seam linking the void between the edges of the existing tape.
- Utilize a putty knife to spread wrinkles smoothly and to lie down the tape into the drywall compound.
- When the compound dries, add a next thin coat of mixture on the taped area.
- When the coat is completely dry, sand gently to smooth out any lumps.
- Use a wide joint-compound taping knife to enclose the patch with a third and last coat fully.
- Try to mix this coat as seamlessly as you can onto the wall surface.
- After it gets dried, sand gently, wipe away any dut and paint the whole area.
Matching Texture And Color
While matching the actual colour of your wall is challenging enough, you might need to hire a drywall contractor. The match might still not be the same, but it will possibly be much closer if you have various small household repair projects. You may also be conserving a lot of time and headaches by employing a professional home painter if you have older walls and require new life, rather than trying to do all the patching and filling things. Only texturing and decorative painting can remake your room.
Conclusion
Drywall is light, cheap, and easy to induct. Drywall also doesn’t get a crack as simply as the plaster walls in old houses. But, it’s far from impenetrable. Whether your drywall Is aged, underwent moisture damage, or has been taken weight-bearing burdens.
Fixing drywall cracks is a regular household repair project. Patching drywall is a somewhat straightforward process, and you can accomplish it pretty quickly. Even then, there are some reasons to hire a professional., Some conditions may require specific considerations. Make sure you do this project flawlessly. But, if you feel the need to hire an expert, get the best drywall repair near you.


