Installing a split AC system is a critical aspect of modern HVAC installation efforts, offering energy-efficient cooling solutions that outperform traditional central air conditioning units. Whether you opt for a mini-split system from Daikin, Mitsubishi Electric, or LG Electronics, or a full heat pump installation through Bosch Thermotechnology or Carrier Corporation, understanding the detailed process ensures optimal performance, air flow optimization, and longevity.
Understanding the Components of a Split System Air Conditioner
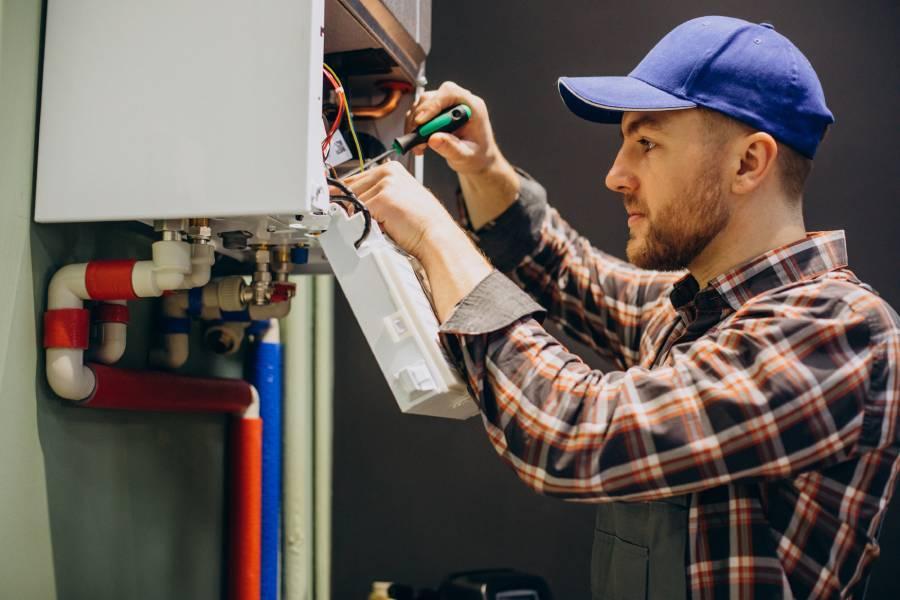
Before diving into the air conditioning unit setup, it’s essential to familiarize yourself with the main components of a split system air conditioner, also known as a ductless air conditioner.
- Indoor and Outdoor Units: The system consists primarily of two parts—the indoor unit housing the evaporator coil, responsible for absorbing indoor heat, and the outdoor compressor unit, where refrigerant is compressed and expelled heat is released. Brands like Fujitsu General and Panasonic Air Conditioning specialize in compact, efficient indoor units that enhance air flow optimization within rooms.
- Refrigerant Piping: These copper lines connect the indoor evaporator coil to the compressor unit, circulating refrigerant necessary for the cooling cycle.
- Thermostat Wiring: Integral to system control, thermostat wiring links the indoor unit to the user interface and connects with zoning system controls for customized room-by-room cooling.
- Condensate Drain Line: This component manages moisture extracted from indoor air, channeling condensation safely outside or to a drainage system.

Preparing Your Home and Tools for Installation
Professional AC installers from leading manufacturers like Trane Technologies or Honeywell International recommend comprehensive preparation before any cooling system installation to avoid setbacks.
- Site Assessment: Allocate indoor unit placement in a location that maximizes air flow optimization yet keeps units away from direct sunlight, excess dust, and obstructions.
- Tools Required: Essential tools include vacuum pumps for refrigerant evacuation, torque wrenches for refrigerant piping connections, multimeters for testing electrical continuity, and leak detectors. Many expert installers working with Samsung HVAC or Carrier Corporation ensure these tools are ready to maintain quality installation standards.
- Safety Precautions: Always disconnect power sources before beginning installation to avoid electric shocks during thermostat wiring or compressor unit hookup.
- Zoning System Evaluation: Where applicable, plan zoning system configurations to control multiple indoor units independently, which enhances energy efficiency.
- Permits and Regulations: Check local building codes and refrigerant handling regulations, especially for heat pump installations requiring specific certifications.

Mounting the Indoor and Outdoor Units Correctly
The physical placement and mounting of both indoor and outdoor units profoundly impact the efficiency and reliability of your split AC system installation.
- Indoor Unit Mounting: Secure the indoor unit on a solid wall near power and drainage access. Use level attention to install the mounting plate ensuring even weight distribution. High-quality units from Mitsubishi Electric and Fujitsu General often come with innovative mounting features to facilitate air flow optimization in confined spaces.
- Outdoor Unit Positioning: Position the compressor unit on a stable surface with adequate ventilation to prevent overheating. Brands like Panasonic Air Conditioning design outdoor units with protective grilles and vibration dampers to extend operational life.
- Condensate Drain Line Installation: Connect the condensate drain line from the indoor unit, ensuring correct slope to avoid water backup. Proper drainage reduces indoor humidity and mitigates mold risks during long-term air conditioning maintenance.
- Clearances: Maintain manufacturer-recommended clearances around both units for service access and airflow efficiency. Uncover details effortlessly with just one click.
Connecting the Refrigerant Lines and Electrical Wiring
This phase merges mechanical and electrical expertise to ensure the split AC system functions safely and efficiently.
- Refrigerant Piping: Carefully flare and connect copper piping between the indoor evaporator coil and outdoor compressor unit. Use refrigerant-grade insulation to prevent condensation and heat loss. Professionals working with Daikin or LG Electronics emphasize accurate refrigerant charging to maximize system performance.
- Electrical Wiring and Thermostat Connections: Run wires for power supply and thermostat controls between the two units. Proper thermostat wiring is vital for seamless communication with the main control unit and any integrated zoning system. Honeywell International’s advanced thermostats offer smart integration for remote and programmable temperature control.
- Leak Checks: Using electronic leak detectors, inspect all piping and connection points for refrigerant leaks, employing nitrogen pressure testing during cooling system installation.
- Vacuum Pumping: Evacuate air and moisture from refrigerant lines with a vacuum pump before releasing refrigerant into the system, a critical step widely adopted by professional AC installers.
- Heat Pump Integration: If an installation includes heat pump functionality, check the reversing valve wiring and ensure proper refrigerant flow for both heating and cooling modes.